Last Modified:

A carriage lock is convenient and helpful for a number of tasks where the minilathe carriage needs to remain stationary. My carriage lock is based on Mike Walsh's design, from the Yahoo 7x10 Group (which no longer exists).
Like many modifications to my mini-lathe, this one was built from parts in my junk box -- nothing is critical except Mike's concept. By putting the lock central to the carriage it reduces the tendency of the carriage to swivel under pressure when facing, etc. My implementation differs from Mike's in that the locking nut has a handle rather than needing a wrench; I find this convenient because the carriage lock is usually under the rubber way protectors - the handle is easily located by feel.
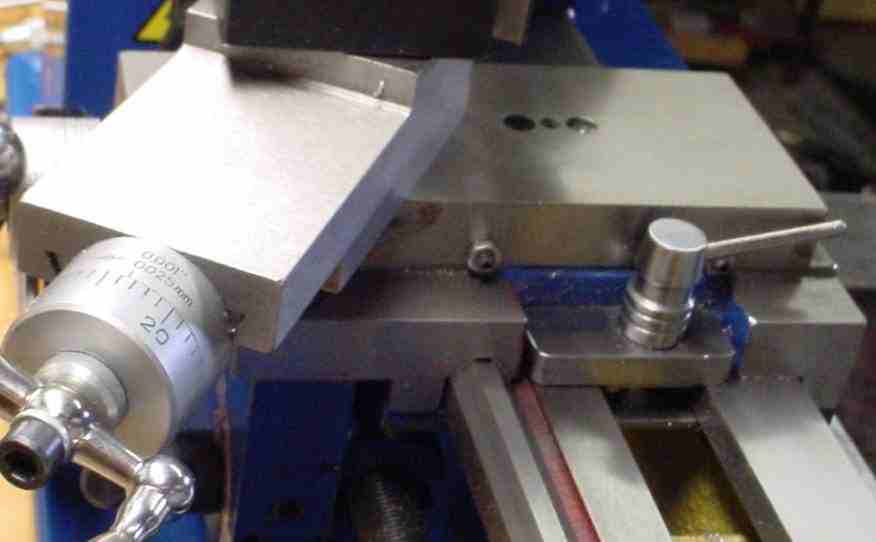
The lock is two flat steel plates which squeeze the center ways, acting as a linear brake. The top plate attaches to the carriage via sheet metal secured to the carriage with 10-32 machine screws. The machine screw in the carriage center might better be located closer to the far side since the lead screw is above this area which required the screw be shortened.
The actuator for the lock is a short carriage bolt and a fancy turned nut with a simple lever handle. The bottom plate has a square hole filed to fit the carriage bolt. Once the bolt's orientation to allow the handle to lock the carriage without fouling on the carriage is found (by trying the different orientations of the carriage bolt in the square hole) the hex nut is added so this need not be done again. The narrow grooves in the fancy nut are decor - a little whimsical machining - but the wide groove is needed to clear the ends of the cross slide's gib adjusting screws. A final point: the handle is set at a slight angle but is kept below the compound so it does not restrict the angles to which the compound can be set.
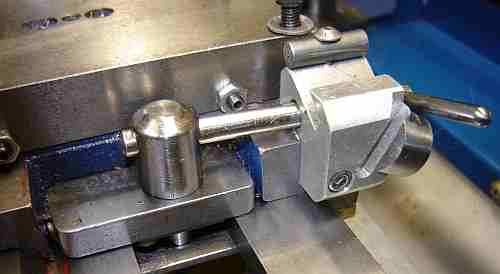
 When DROs were added, the carriage lock was revised to use a cam because the screw actuator was too tall and conflicted with the DRO scale. The cam scheme is identical to that used for the tailstock camlock - I even used the same 30 thou copper shim to offset while cutting this cam (nothing useful gets discarded in my shop ;-) The clamp for the X DRO supports the cam lever in the release position. The cam scheme actually works better than the original method of actuation.